
HOW TO SAFELY MOVE WINDOWS 11 TO A NEW SSD WITHOUT REINSTALLING
Category: Tech Insights & Infrastructure | Reading time: ~12 minutes | Level: All users
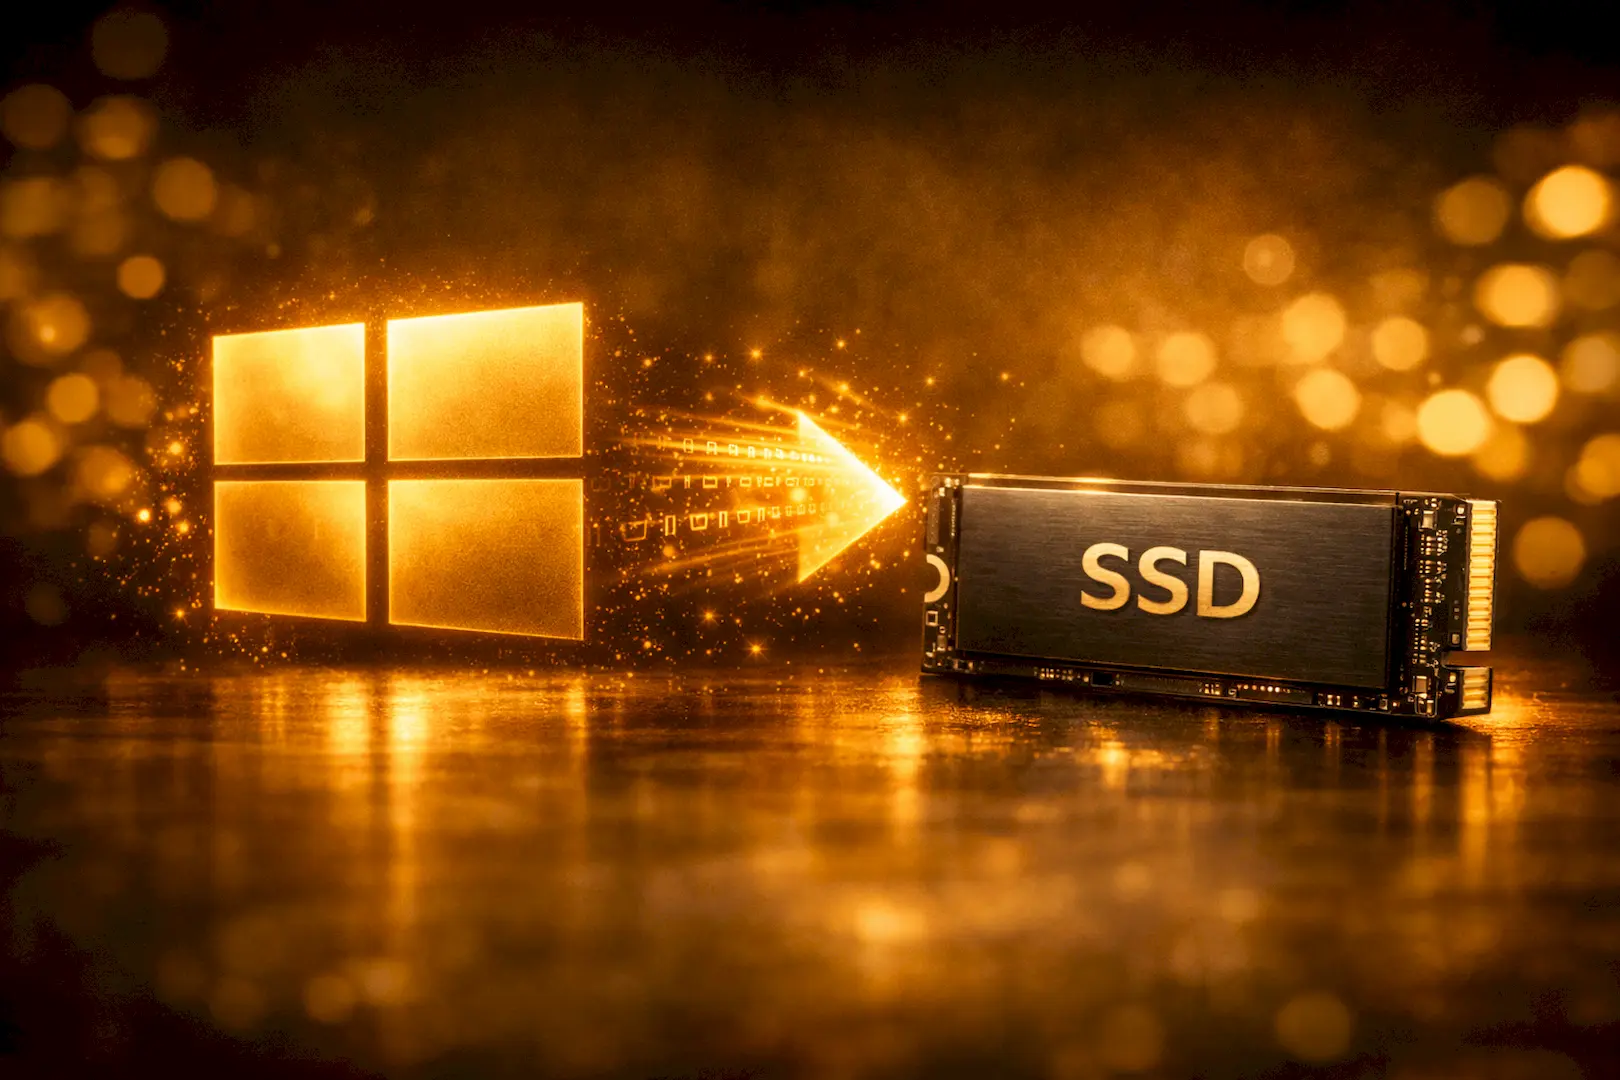
How to upgrade your storage, clone your system drive, and boot safely — without losing a single file.
INTRODUCTION: WHY UPGRADING TO A NEW SSD SAVES TIME AND PERFORMANCE?
Windows 11 SSD migration is the fastest way to upgrade your PC without reinstalling — saving time, preserving files, and boosting performance.
Many users avoid upgrading their slow or full system drives because they dread the process of a clean operating system installation. Reinstalling Windows from scratch means losing personalized desktop layouts, configuration registries, license activations, and critical application settings.
This guide changes that. By the end, you will understand exactly how to safely duplicate your entire operating system, what potential boot conflicts to look out for, and — most importantly — the specific, actionable steps you can take right now to transition your data seamlessly.
Here is what we will cover:
- PRE-CLONING AUDIT: How to prepare your current operating system and hardware for a flawless transition
- SOFTWARE SELECTION & EXECUTION: Choosing the right system migration utility and running the clone securely
- BIOS CONFIGURATION: Forcing your computer to recognize and prioritize the new storage drive
- POST-UPGRADE SECURITY: Safely repurposing your legacy drive without exposing personal data structures
1. PRE-CLONING AUDIT: PREPARING YOUR DATA AND HARDWARE
WHY THIS IS THE MOST CRITICAL STEP?
Before pushing a single byte of data to a new drive, you must verify structural compatibility between both storage units. Running a cloning procedure on an unstable operating system or mismatched partition layout can result in corrupted boot files and system deployment failure.
- ANALYZE STORAGE CAPACITIES: Verify that the total used data on your current drive is smaller than the maximum total capacity of your new SSD.
- CHECK PARTITION STYLES: Confirm whether your current drive uses GPT (GUID Partition Table) or MBR (Master Record Table) so your cloning software can match it exactly.
- RUN A FILESYSTEM HEALTH CHECK: Open Command Prompt as Administrator and run
chkdsk /fto identify and repair any hidden file system errors before copying them. - SECURE PHYSICAL CONNECTIVITY: Connect your target SSD internally via an available M.2 NVMe slot, or externally using an approved high-speed SATA-to-USB or NVMe-to-USB enclosure.
2. SOFTWARE SELECTION AND SYSTEM MIGRATION EXECUTION
DEPLOYING THE RIGHT CLONING UTILITIES.
With many legacy backup tools phasing out free structural features, choosing a reliable and secure migration platform is critical. The right environment ensures a bit‑perfect shadow copy of your Windows Boot Configuration Data (BCD) and recovery partitions, protecting system integrity during transfer.
- Select Trusted Migration Tools: Opt for dependable freemium utilities like DiskGenius or AOMEI Backupper Standard, or proprietary vendor solutions such as Samsung Data Migration for Samsung drives.
- Prioritize System Migration: Always use the dedicated System Migration option instead of a generic disk clone. This guarantees hidden Windows boot partitions are included automatically.
- Enable SSD Alignment: Activate “Optimize for SSD” or “4K Alignment” in your software settings to ensure precise sector alignment with the physical architecture of your solid‑state drive.
- Maintain Continuous Power: Keep laptops plugged in or desktops on a stable power line. Interruptions during migration can corrupt the drive’s controller and compromise data integrity.
3. BIOS CONFIGURATION: BOOTING SAFELY FROM THE NEW SSD
CHANGING THE HARDWARE GUARDRAILS.
Set Your New SSD as the Primary Boot Drive. Completing the cloning process doesn’t automatically tell your computer to start Windows from the new SSD. If both drives remain connected without firmware adjustments, the system will continue booting from the older, slower disk.
- Access BIOS/UEFI Settings: Restart your PC and press the setup key repeatedly (commonly F2, F12, Del, or Esc depending on your motherboard brand) to enter the firmware menu.
- Locate Boot Priority Options: Navigate to the Boot tab to view the ordered list of available storage devices.
- Reassign Primary Boot Device: Move your new SSD to the top of the list so the motherboard checks its boot sector first.
- Save and Exit: Press F10, confirm “Save Changes and Exit,” and allow the system to reboot. Windows will now launch directly from your optimized SSD environment.

4. POST-UPGRADE STEPS AND SECURE DRIVE RECLAMATION
RECLAIMING STORAGE AND SECURING YOUR WORKSPACE.
Confirm SSD Success and Repurpose Your Old Drive. After launching Windows 11 from your new solid‑state drive, the final step is to validate system performance and prepare your legacy disk for secondary storage.
- Verify SSD Performance: Open Task Manager (Ctrl + Shift + Esc), select the Performance tab, and confirm that your active C: drive is mapped to your new SSD model.
- Extend Partition Space: If your SSD is larger than the old drive, use Disk Management to right‑click the C: partition and then choose Extend Volume to claim unallocated space.
- Retain Backup Safety: Keep your old drive connected for at least 48 hours to ensure all apps, licenses, and shortcuts function correctly.
- Securely Format Legacy Drive: Once stability is confirmed, wipe the old disk using Windows Disk Management or a secure erase utility. This clears outdated boot sectors and prepares the drive for clean use as secondary storage or a dedicated game drive.
Join the Conversation.
Upgrading to a new SSD without reinstalling Windows 11 is one of the smartest ways to boost speed, reliability, and overall system performance. The guide walked you through auditing your hardware, selecting trusted migration tools, configuring BIOS boot priority, and securely repurposing your old drive.
Now we’d love to hear from you:
- Did you enjoy this post?
- Do you have alternative methods or tips for Windows 11 SSD migration?
- Have you faced challenges with BIOS boot configuration or partition management?
Share your experiences in the comment section — your insights could help fellow readers make smoother upgrades. If this guide was helpful, please share it with friends, colleagues, or anyone planning a storage upgrade. And don’t forget to return to SaritSystech for more tech insights, step‑by‑step guides, and quality news to keep your digital world optimized.
If you enjoyed this guide on migrating Windows 11 to a new SSD, you’ll also find value in our earlier post on Speeding Up Windows 11. It covers practical optimization tips to make your system run faster, smoother, and more efficiently — perfect for pairing with your new SSD upgrade.
Thanks for this insightful information? By the way, where are you from?
Thanks for reading. I am from Nigeria.
Good post here my brother.
You mentioned this ‘DEPLOYING THE RIGHT CLONING UTILITIES. Can you please write on this to let the readers know more about it. Thanks
+’
Noted.