
HOW TO CREATE A BOOTABLE WINDOWS 11 USB WITH RUFUS [STEP‑BY‑STEP GUIDE]
Category: Tech Insights & Infrastructure | Reading time: ~10 minutes | Level: All users
WHY RUFUS IS THE BEST TOOL FOR WINDOWS INSTALLATION?
Creating a bootable Windows 11 USB with Rufus is the fastest way to install or repair your system. This guide walks you through ISO download, Rufus setup, and bypassing restrictions for a flawless installation. Most importantly for Windows 11, Rufus allows you to bypass strict hardware restrictions like TPM 2.0, Secure Boot, and mandatory Microsoft Account sign-ins. By the end of this guide, you will know exactly how to flash a secure installation drive and configure your hardware settings without errors.
Here is what we will cover here:
- PRE-REQUISITES AUDIT: Gathering your hardware assets and downloading official Windows ISO files
- RUFUS CONFIGURATION: Setting up the software for modern UEFI systems or older legacy hardware
- FLASHING PROCESS: Safely formatting the flash drive and running the deployment script
- ADVANCED WORKAROUNDS: Bypassing Windows 11 RAM, TPM 2.0, and online account requirements
1. PRE-REQUISITES AUDIT: GATHERING YOUR HARDWARE AND FILES
PREPARING FOR A FLAWLESS FLASH:
Before launching your deployment utility, you must gather the correct hardware toolsets and official software data packages. Using corrupted files or failing to secure your local data can stall the installation process midway.
- PREPARE A SUITABLE FLASH DRIVE: Secure a reliable USB 3.0 flash drive with a minimum capacity of 8GB, keeping in mind that the process will completely erase all existing files on it.
- DOWNLOAD THE OFFICIAL WINDOWS ISO: Visit the official Microsoft software download page to pull down the authentic Windows 11 multi-edition ISO file directly to your desktop.
- DOWNLOAD THE LATEST RUFUS UTILITY: Head to the official Rufus website and download the latest stable executable file (or the portable version, which requires no installation).
- BACKUP YOUR CURRENT WORKSPACE: Double-check that your target USB drive contains no critical personal files, as the flashing process runs a deep partition erase.
2. RUFUS CONFIGURATION AND SYSTEM MIGRATION TARGETS
OPTIMIZING SETTINGS FOR MODERN HARDWARE
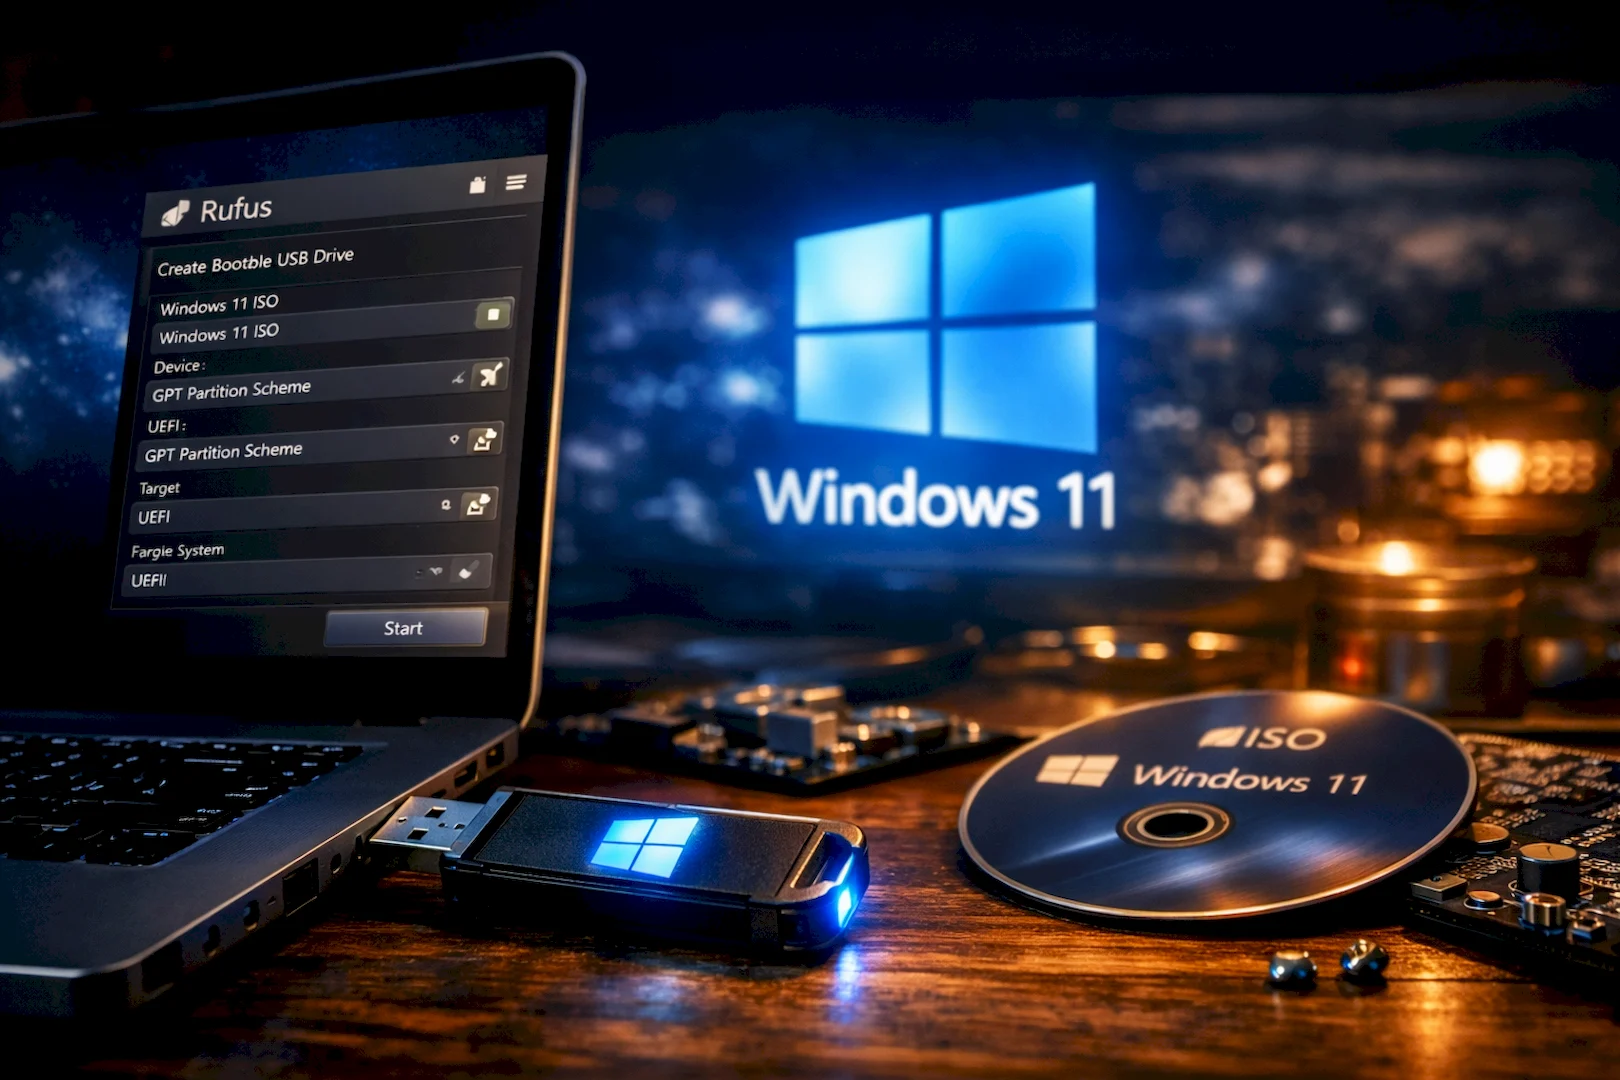
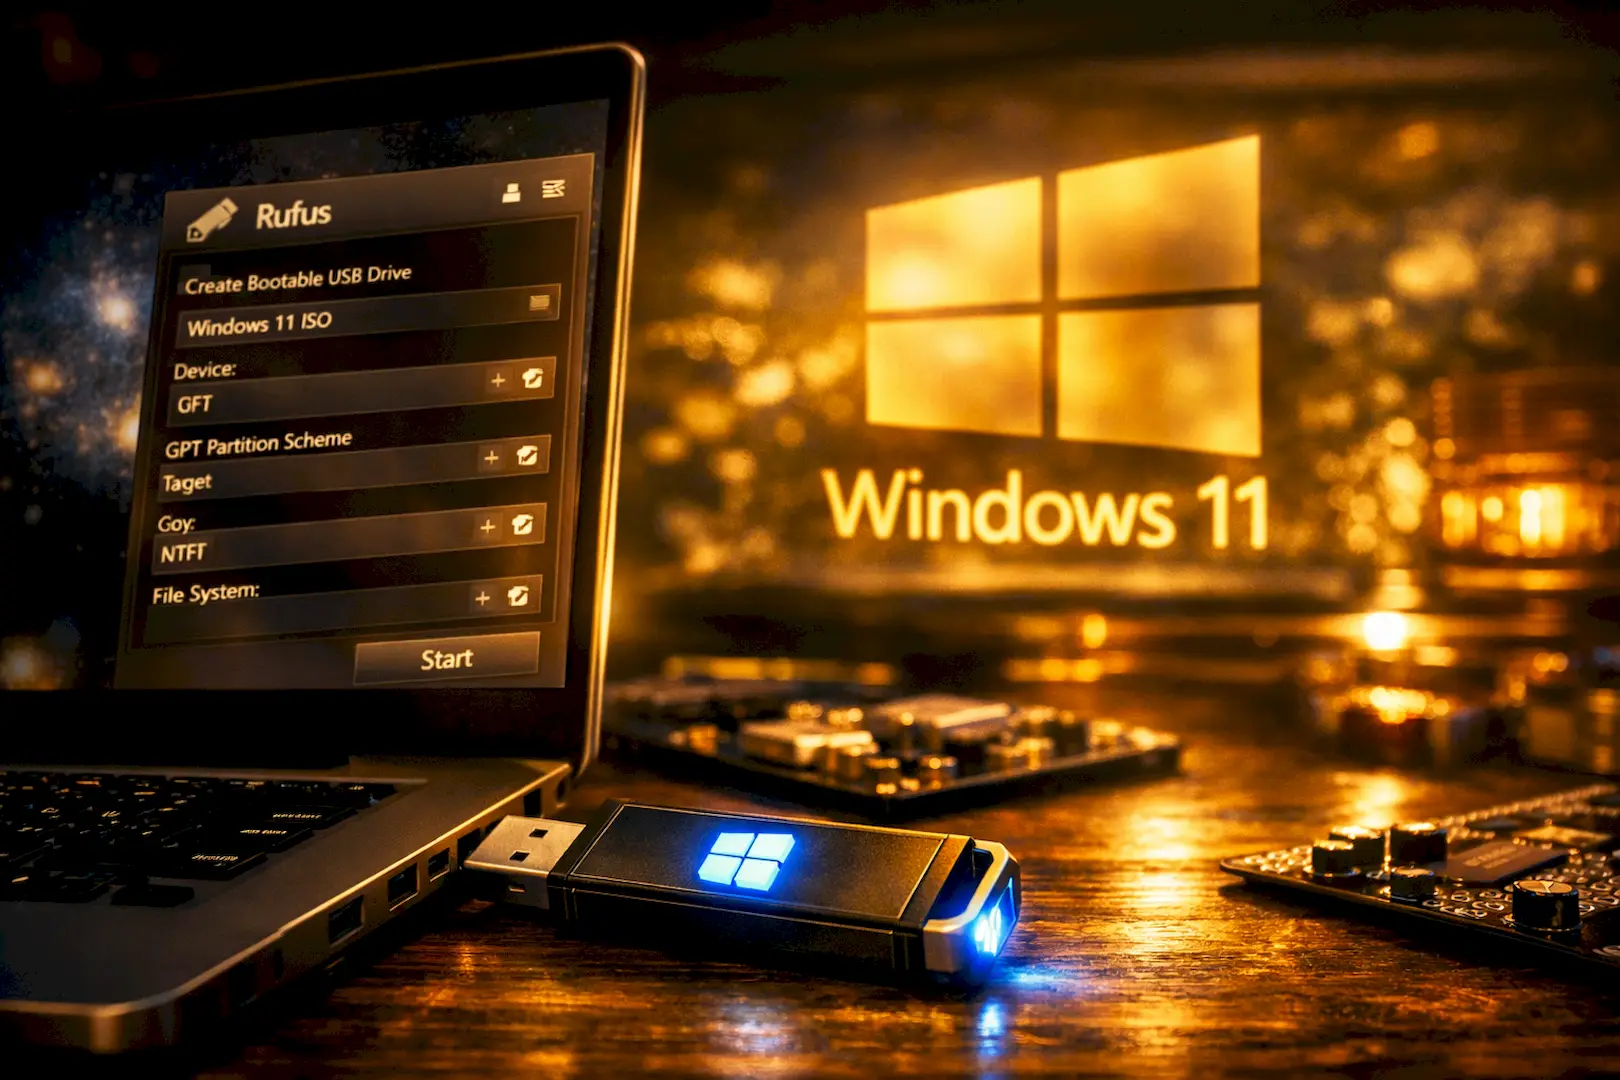
Once your tools are ready, open Rufus as an Administrator. This is where most users make mistakes with partition alignments, resulting in an unbootable drive when plugged into the target computer. Follow these steps below:
- SELECT THE CORRECT DEVICE: Click the Device dropdown menu at the very top and ensure it highlights your connected USB drive rather than an external backup hard drive.
- LOAD THE WINDOWS ISO IMAGE: Set the boot selection dropdown to Disk or ISO image, then, click the blue Select button, and choose your downloaded Windows 11 ISO file.
- CHOOSE THE PARTITION SCHEME: Select GPT (GUID Partition Table) for most modern computers built within the last decade, or choose MBR (Master Boot Record) if you’re installing Windows on older legacy hardware.
- TARGET THE SYSTEM FIRMWARE: Ensure the target system dropdown is set to UEFI (non CSM) if you chose GPT, as modern Windows 11 environments strictly demand secure UEFI environments.
3. ADVANCED WINDOWS CUSTOMIZATION AND BYPASS SETTINGS
REMOVING MICROSOFT HARDWARE BLOCKS
One of the greatest benefits of using Rufus over official tools is the Windows User Experience configuration menu. This menu pops up immediately after you click the start button, letting you strip out unwanted system restrictions.
- BYPASS TPM AND SECURE BOOT: Check the box to Remove requirement for 4GB+ RAM, Secure Boot and TPM 2.0 if you plan to install Windows 11 on older, officially unsupported PCs.
- REMOVE ONLINE ACCOUNT MANDATES: Check the box to Remove requirement for an online Microsoft account so you can set up a fast, local user profile without entering an email address.
- AUTOMATE LOCAL ACCOUNT CREATION: Enable the option to create a local account automatically, matching your current username to save administrative setup steps later.
- DISABLE DATA COLLECTION: Check the box to disable privacy questions, preventing Windows from asking for location tracking and diagnostic data during the initial boot phase.
4. RUNNING THE FLASH AND PREPARING FOR SYSTEM BOOT
EXECUTING THE DEPLOYMENT PROCESS SECURELY
With all parameter boundaries defined, you can now run the flashing cycle. This process unpacks the large ISO file system and formats your hardware sectors to make the drive readable at the motherboard tier.
- INITIATE THE DATA WRITE: Click the Start button at the bottom of the tool interface and read the warning prompt carefully before confirming.
- MONITOR THE PROGRESS INDICATOR: Let the green progress bar fill up completely, avoiding pulling out the drive or shutting down the PC while the file blocks write. This is very important.
- VERIFY SUCCESS STATUS: Wait until the bar displays a bright green READY status notice before closing the tool window down.
- SAFE HARDWARE REMOVAL: Click the system tray icon, select Safely Remove Hardware, and unplug your newly minted Windows 11 installation media drive.

Your Bootable Journey Begins Here:
You’ve now mastered how to create a bootable Windows 11 USB drive using Rufus — a fast, reliable method for clean installations and system recovery. With these steps, you can confidently set up or repair any PC without hassle.
For more tech tutorials, system optimization guides, and cybersecurity insights, keep visiting Sarit Systech — your trusted source for clear, practical technology knowledge.
Check out our detailed guide on How to Safely Move Windows 11 to a New SSD Without Reinstalling to upgrade your system performance instantly.